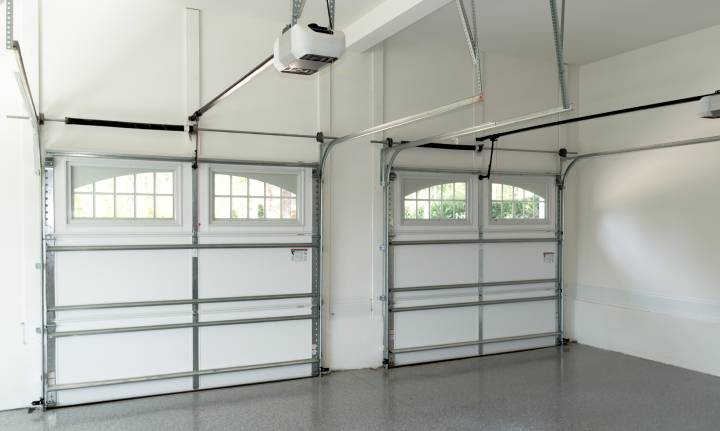
Before embarking on a garage door installation project, it’s crucial to begin by assessing your current opening. Accurate measurements are essential to ensure a precise fit and optimal functionality for your new door.
- Begin by measuring the width of the opening at the top, middle, and bottom to ascertain its overall width.
- Determine the opening height by measuring from the floor to the header.
- Gauge the depth of the opening from the outside of the door to the back wall to aid in selecting the appropriate garage door opener.
- Assess the ceiling height by measuring from the floor to the ceiling, as this factor influences the choice of garage door and opener.
With these measurements in hand, research and select the ideal garage door. Consider considerations such as style, material, and insulation level to ensure the new door aligns with your aesthetic preferences and functional needs.
Removing the old garage door
- Disable the garage door opener by unplugging it and detaching the metal arm from the door.
- Gently dismantle the garage door panels, beginning at the top and proceeding downward. Exercise caution around tightly wound springs, as mishandling them poses a risk.
- Following panel removal, disconnect the hinges and pulleys and slowly lower the door to the ground.
- Adhere to local guidelines for disposing of the old door, or consider donating it if it remains in good shape.
Preparing the opening
With the old door removed, it’s time to prepare the opening for the new garage door. This includes making necessary repairs or modifications to the frame and ensuring the opening is level and square.
- Inspect the opening and make any necessary repairs to the framing. This may include replacing damaged or rotted wood, tightening loose screws, or reinforcing the header.
- Use a level to ensure that the opening is level both horizontally and vertically. If not, you may need to shim the frame to correct the alignment.
- Measure the opening again to confirm that it matches the dimensions of the new garage door you’ve selected. Make any necessary adjustments to the frame to ensure a proper fit.
Installing the garage door
1. Attach the door’s bottom panel to the opening, ensuring it’s level and square.
2. Install the remaining panels, one at a time, connecting them with the hinges and rollers provided in the installation kit.
3. Attach the torsion springs to the header, following the manufacturer’s instructions carefully. Torsion springs are under high tension and can be dangerous if not installed correctly.
4. Install the garage door repairtracks, ensuring they are level and aligned with the rollers on the door panels.
5. Attach the garage door opener to the header, following the manufacturer’s instructions. This may involve mounting the opener, connecting the opener arm to the door, and running the electrical wiring.
6. Adjust the door’s tension and balance, ensuring it opens and closes smoothly and effortlessly.
7. Test the door’s safety features, such as the auto-reverse function, to ensure they work correctly.
Proper maintenance is crucial for your new garage door’s longevity and smooth operation. Adhere to the maintenance schedule recommended by the manufacturer and promptly attend to any issues to mitigate the risk of additional damage.


